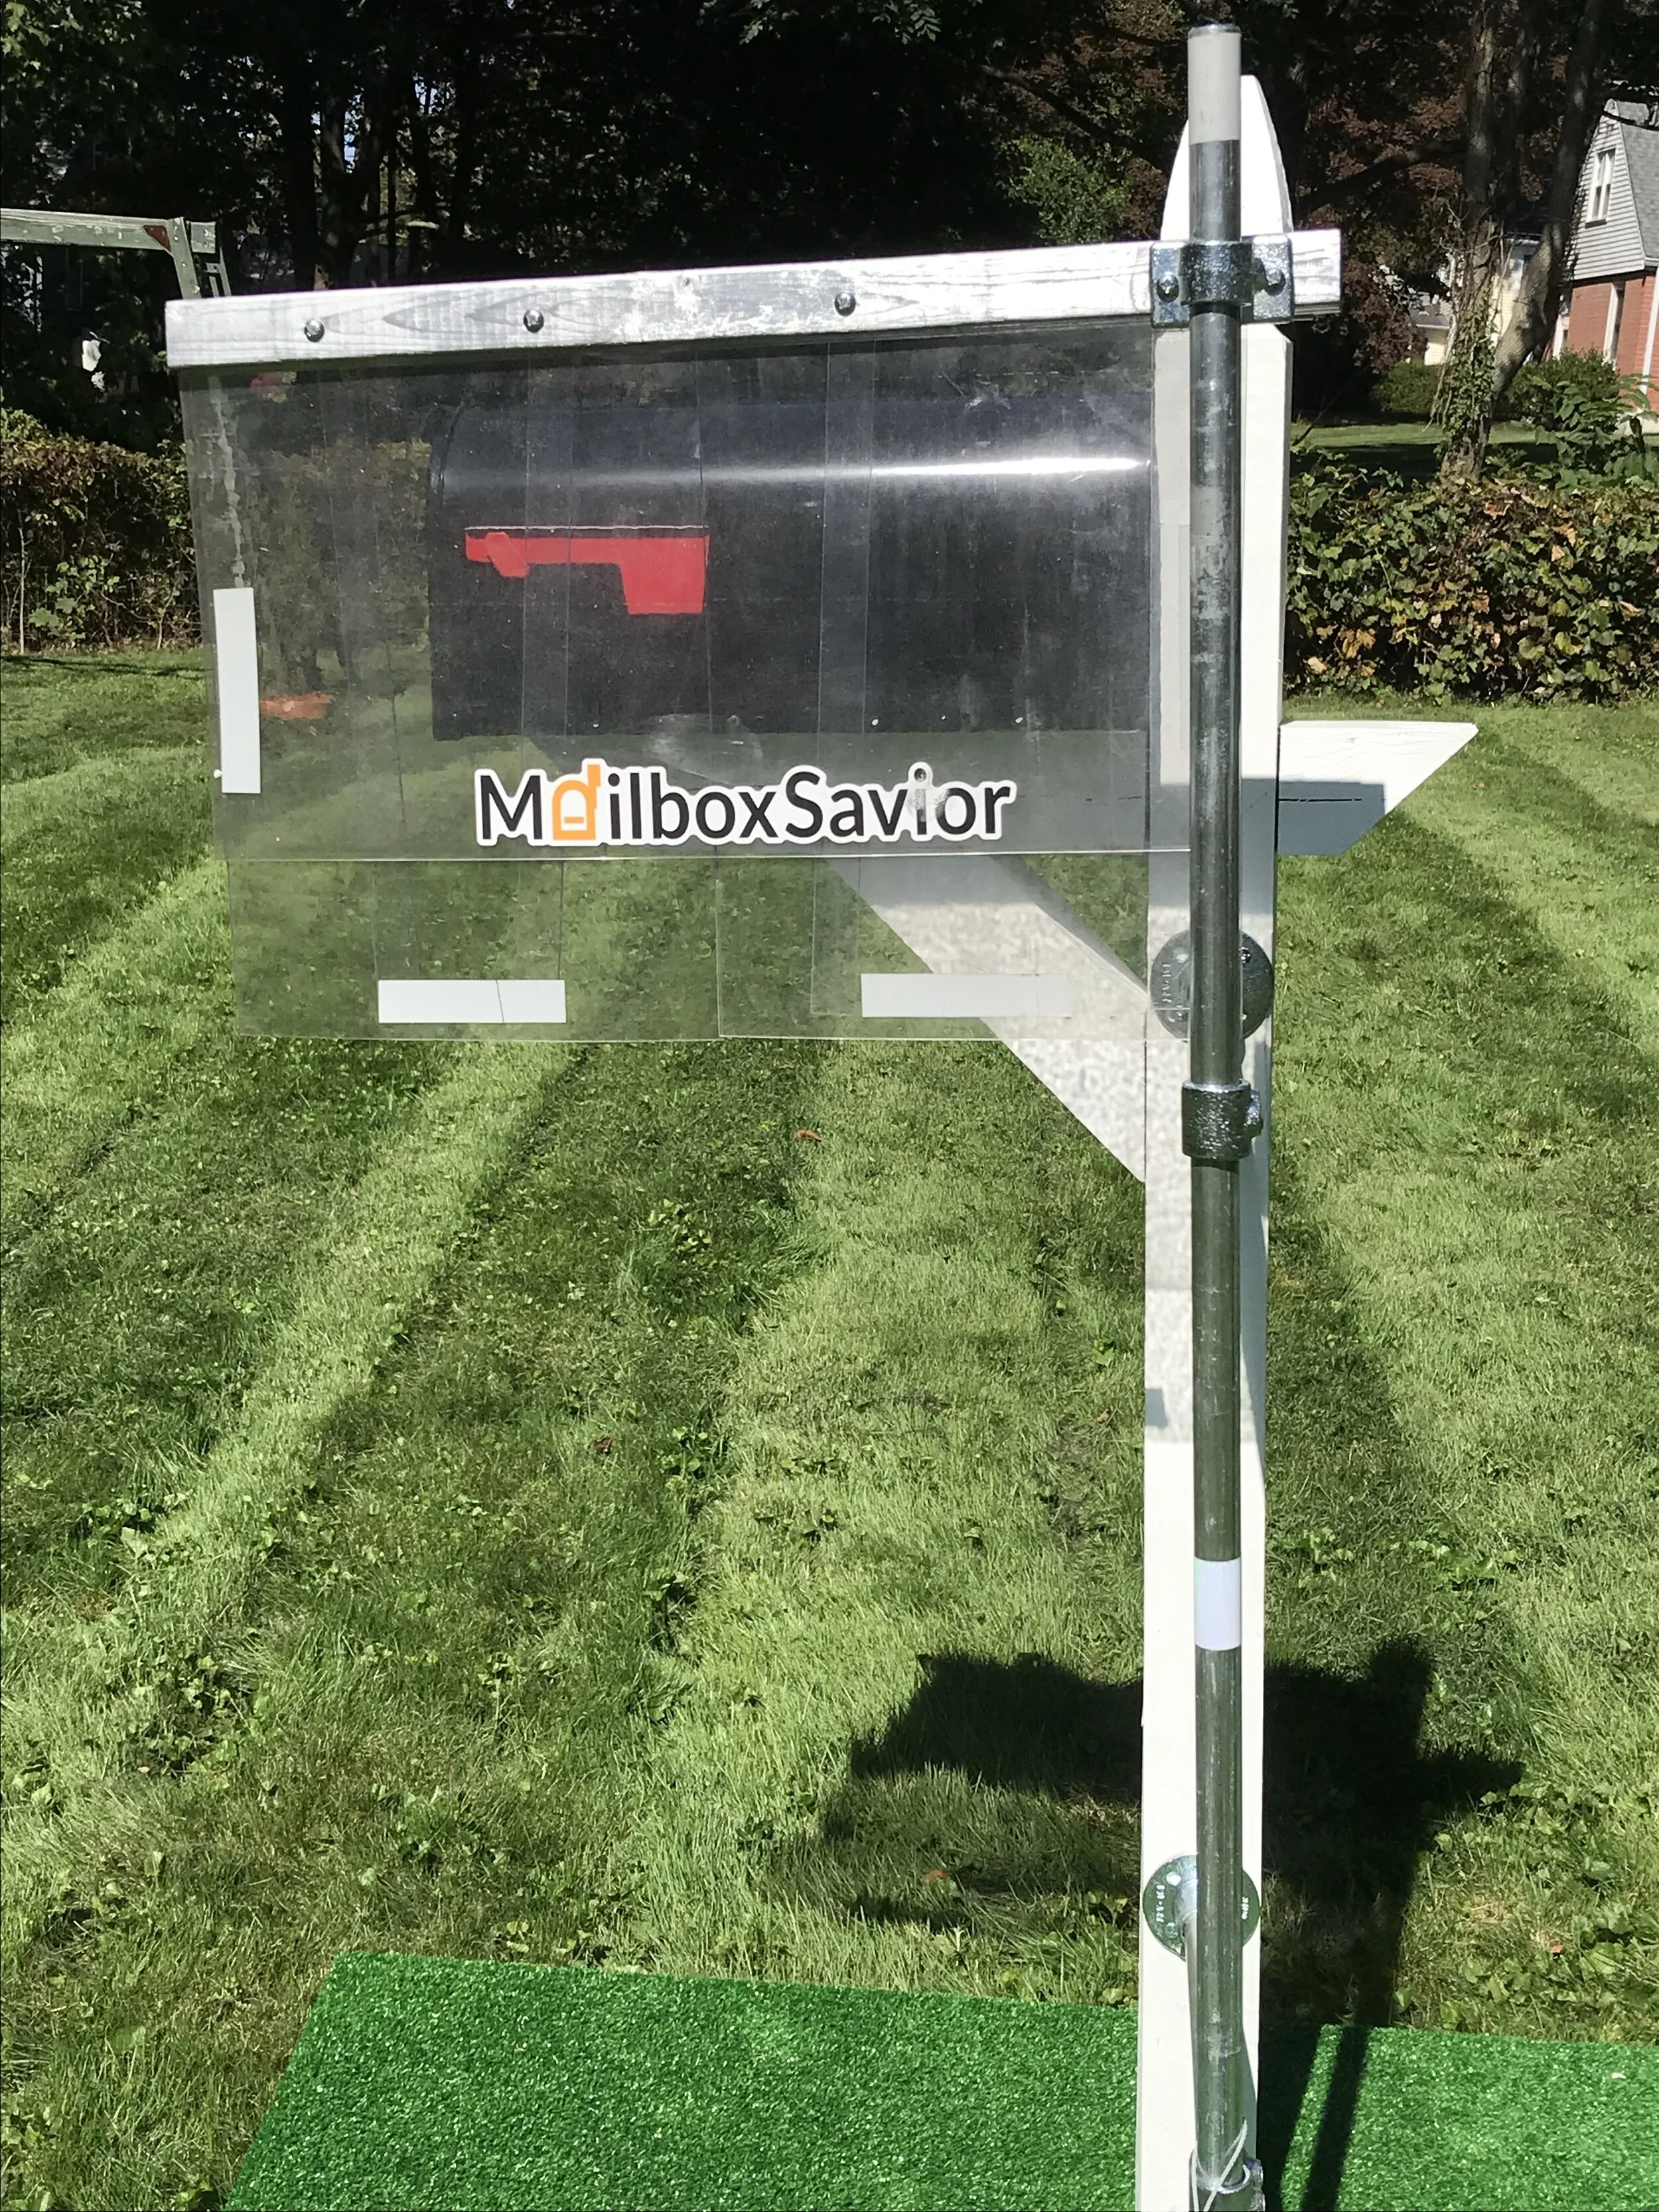
Install MailboxSavior® in about 30 minutes!
The MailboxSavior® easily attaches to your mailbox post, creating a flexible shield in front of the mailbox. This shield redirects snow and slush away from your mailbox, helping to lessen the impact and the kind of force that can crack your mailbox post or damage the box itself.
How it Works
How to Install*
*A new video with current model instructions is coming soon. Please see the Full Installation and Care Manual for the most up-to-date instructions!
MailboxSavior® Quick Start Guide
Estimated time of installation 20-30 minutes. Please see Full Installation and Care Manual for more detail.
Parts Included:
Struts with connection hardware on each end (2)
Main pole (2 equal sections, 2 ½ feet each)
Shield assembly (1)
Tie down wire with wire clamps (1)
Provided tool: Allen wrench
Rubber foot (1)
Main pole straight coupling (1)
Ground screw (1)
Wood screws (4)
Other tools needed:
Drill with small drill bit for pilot holes
Adjustable wrench
Phillips head screwdriver
Safety first!
Caution: READ AND FOLLOW ALL INSTALLATION INSTRUCTIONS AND SAFETY PRECAUTIONS.
Safety during installation:
Since you will be installing MailboxSavior next to a road, be sure to take precautions in regard to traffic. Assign a spotter, someone who can be present during the entire installation, to warn of oncoming traffic and to ensure you are a safe distance from the road and vehicles at all times. Wear a high visibility vest and DO NOT install at night or during a time of poor visibility for passing motorists.
Safety gear:
Protective glasses, high visibility vest
Step 1:
Working on the side of your post that faces in the direction of the oncoming plow, measure 12 inches from the base of the mailbox post and mark. Place a strut’s flat sided connector at this mark by drilling pilot holes and securing the connector (and strut) with 2 wood screws.
Step 2:
Slide a section of the main pole into the right-angle pipe connector side of the strut you just installed then slide the rubber foot onto the bottom of this section and push pole down until the foot is in firm contact with the ground. Tighten the set screws on the strut’s hardware. Slide the main pole straight coupling onto the first section of the main pole and tighten the first set screw.
Step 3:
Take the second 2 ½’ section of main pole. Slide the shield assembly to the top of this section and then slide the second strut onto this section as well. Secure both into place, but not tightly.
Step 4:
Connect the second 2 ½ ‘ section of main pole to the first (which was inserted into the strut in Step 2) by inserting the bottom into the straight coupling on the first section of 2 ½ ‘ pole. Secure using the straight coupling’s second set screw.
Step 5:
Position shield assembly ½ to 1 inch higher than the mailbox. Secure to the main pole by tightening the set screw (make this as tight as you can).


